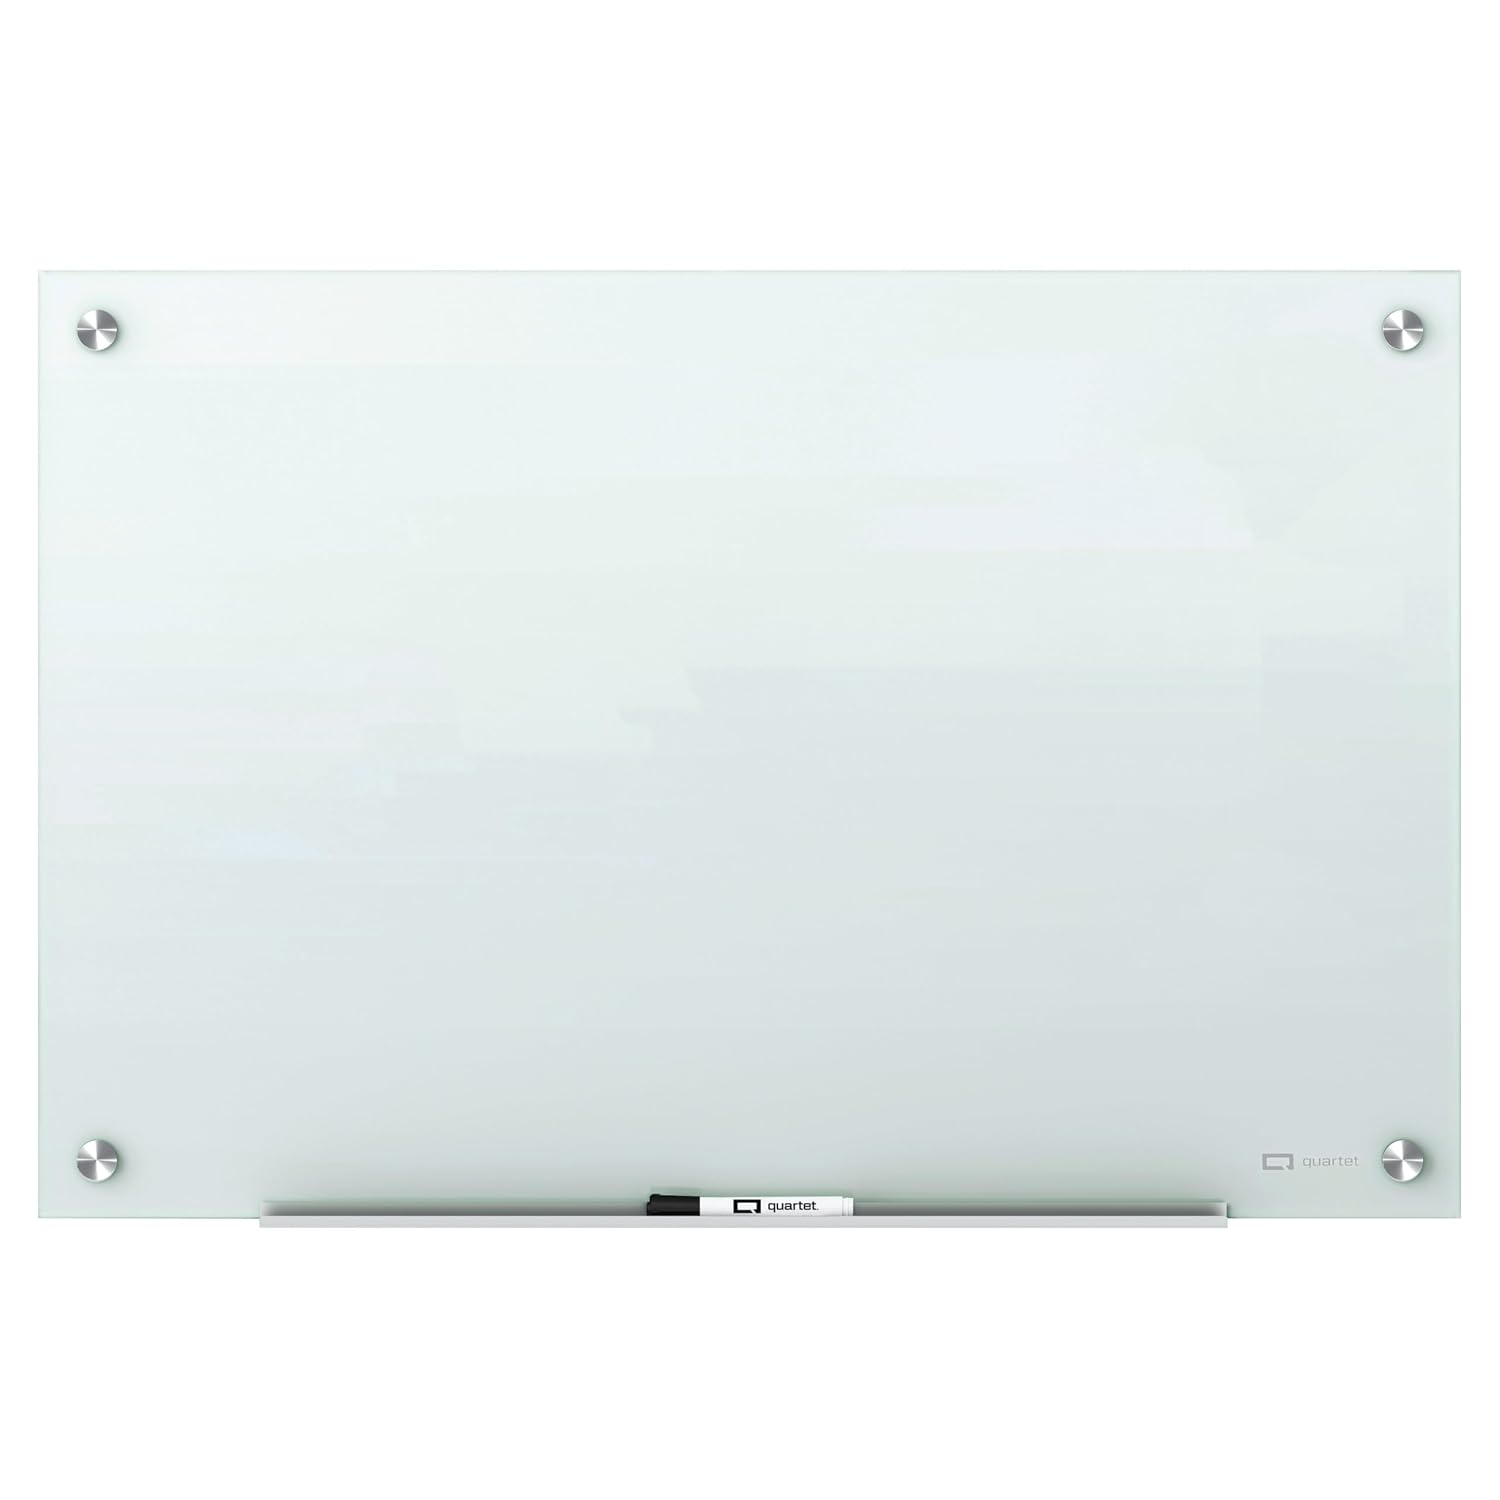
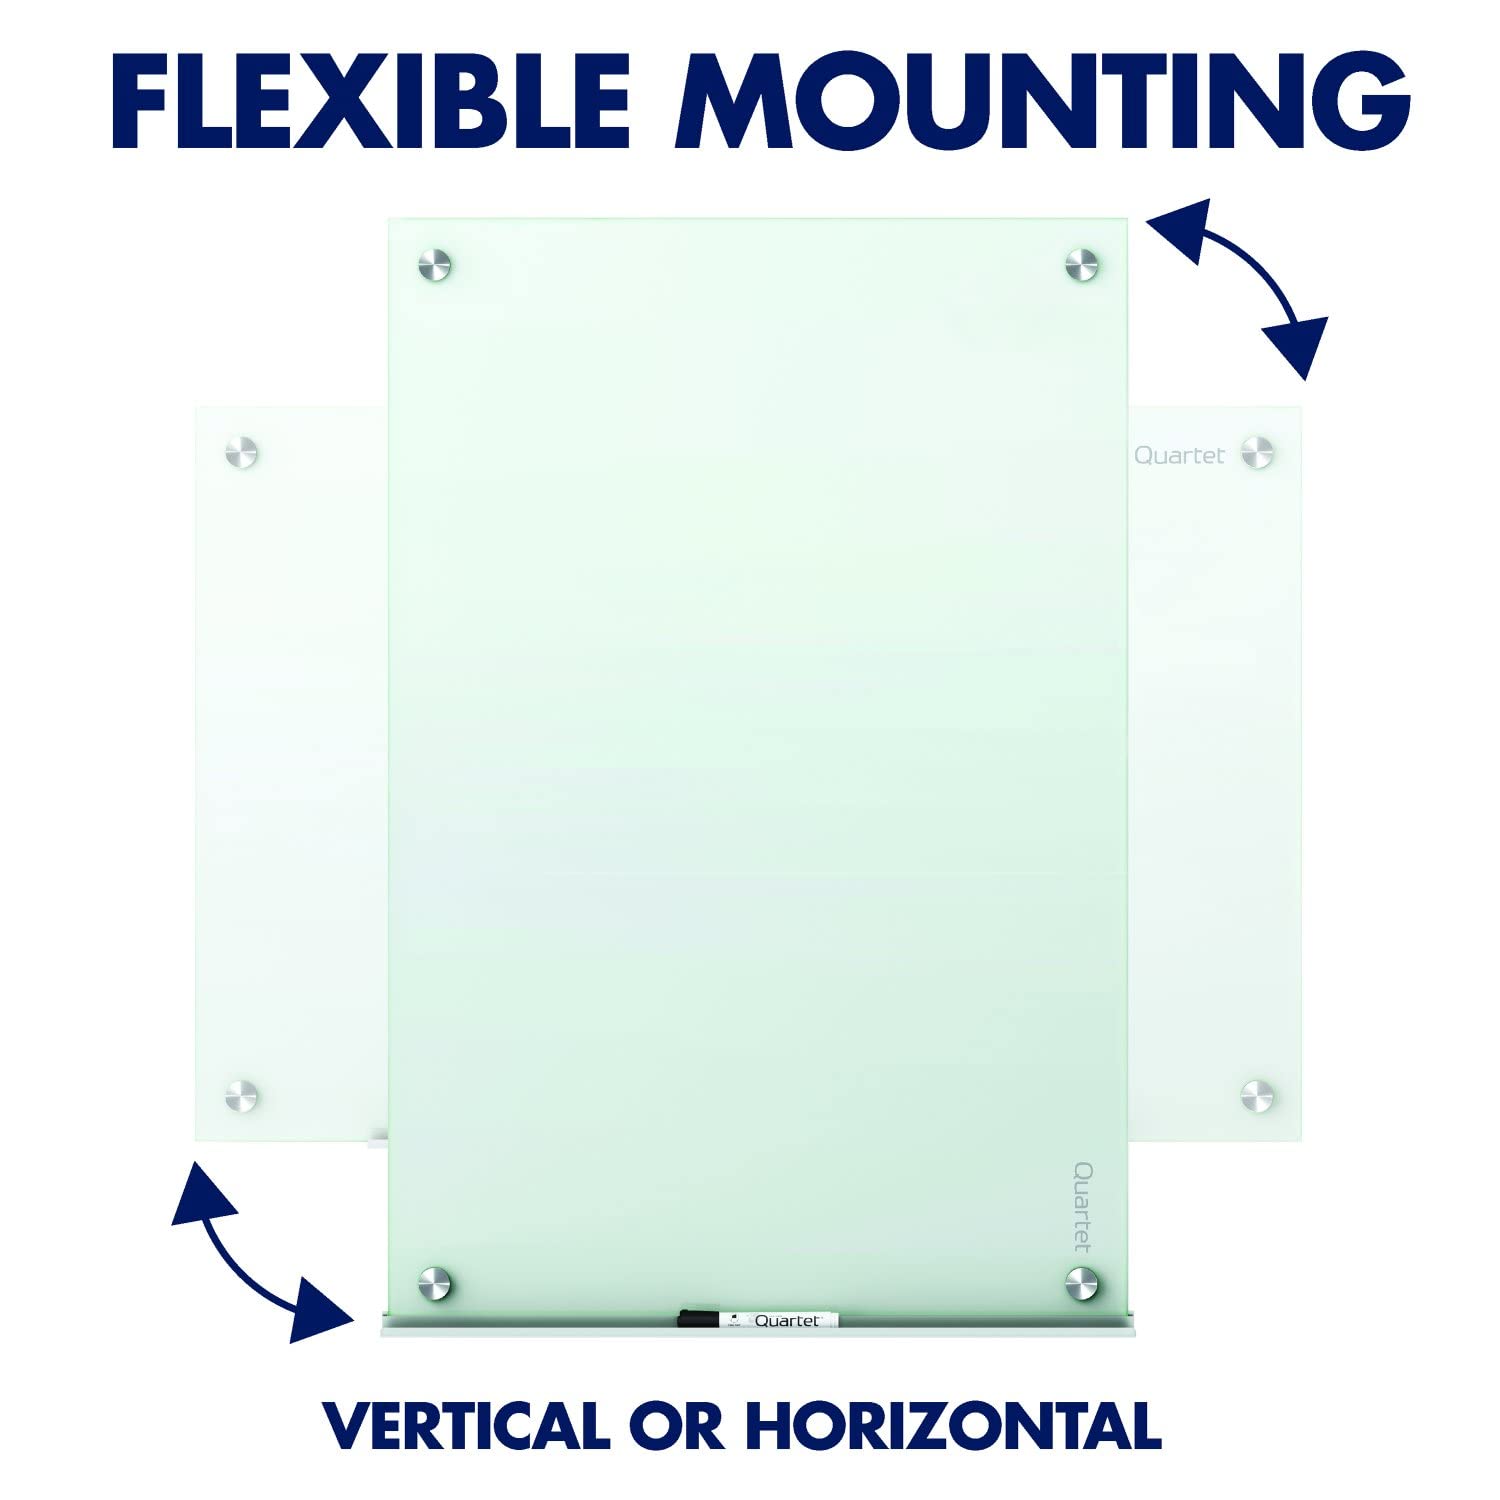
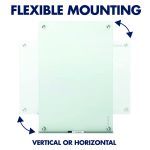
The board is beautiful, and we bought the 6X4 which has 6 mounts. It's very heavy and is a 3 person job minimum to install (don't even try with 2, it's not worth the risk of dropping). I followed the review by John B. Hartleb, who explained some tips on how to install, and took a lot of his tips in mind to install the board. Here's my findings and some tips from installing it in our conference room.
1. 3 people – 2 to lift, one to mark the wall and drill.
2. Pro tip: get a table and stand it against the wall. Use a level to get the table level as possible. To get the height right, use 12 packs of soda to rest the board on so your 2 buddies won't get tired, and the board will still be perfectly level! (see pic) (the blue tape is to catch the dry wall when drilling so as not to make a mess)
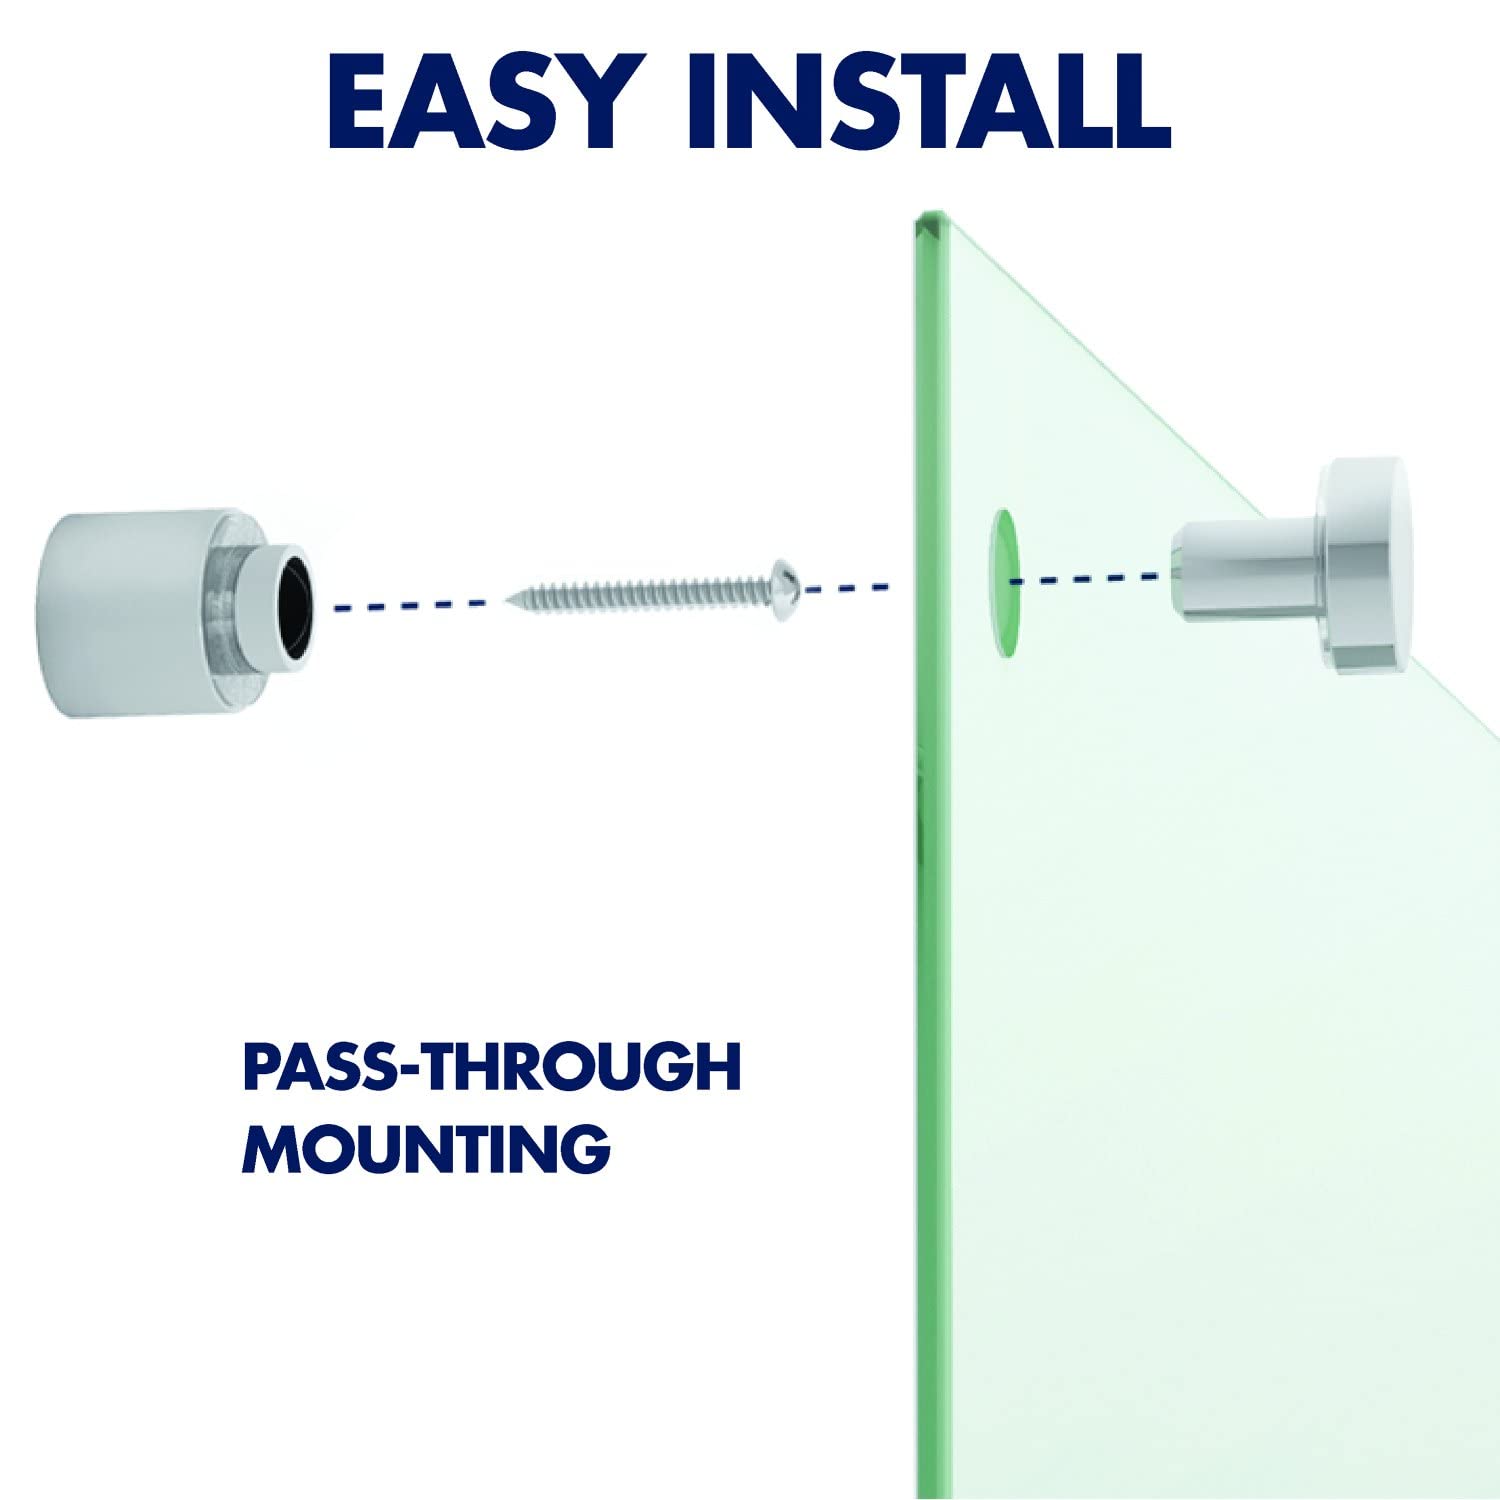
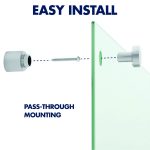
3. One the board is lined up with the wall, mark the top 3 center holes to drill, then move the board away. Drill with a 11/64" drill and the anchors will go in perfectly into the wall. The screw in the 3 back anchors. Then have your buddies hold the board up as you screw in the top anchors for the top 3 anchor holes.
4. Top anchors: John's review said to lubricate, but this was not necessary. If you need a little more torque I put blue painters tape on the top of the top anchors to get some more leverage to turn them. This made it way easier. Don't turn too much as you're literally screwing into glass. Just tighten until it's snug.
5. Now the board is hanging by the top anchors only and the bottom is free swinging. You can get rid of the table and cases of soda to continue the remainder of the installation. Lift the bottom edge of the board so it's about the same distance away from the wall as the top. Mark the direct center of the hole in the wall (don't get lazy about lifting the board because if you mark the hole when the bottom is closer to the wall, the center won't be dead center and your anchors will be off). Now drill the holes and repeat installing the anchors.
6. Bottom anchor points: so as you will need a little bit of play, install the bottom anchors first for all 3. Once they're all aligned up and poking through the board, then screw in the tops anchors. Now you're done!
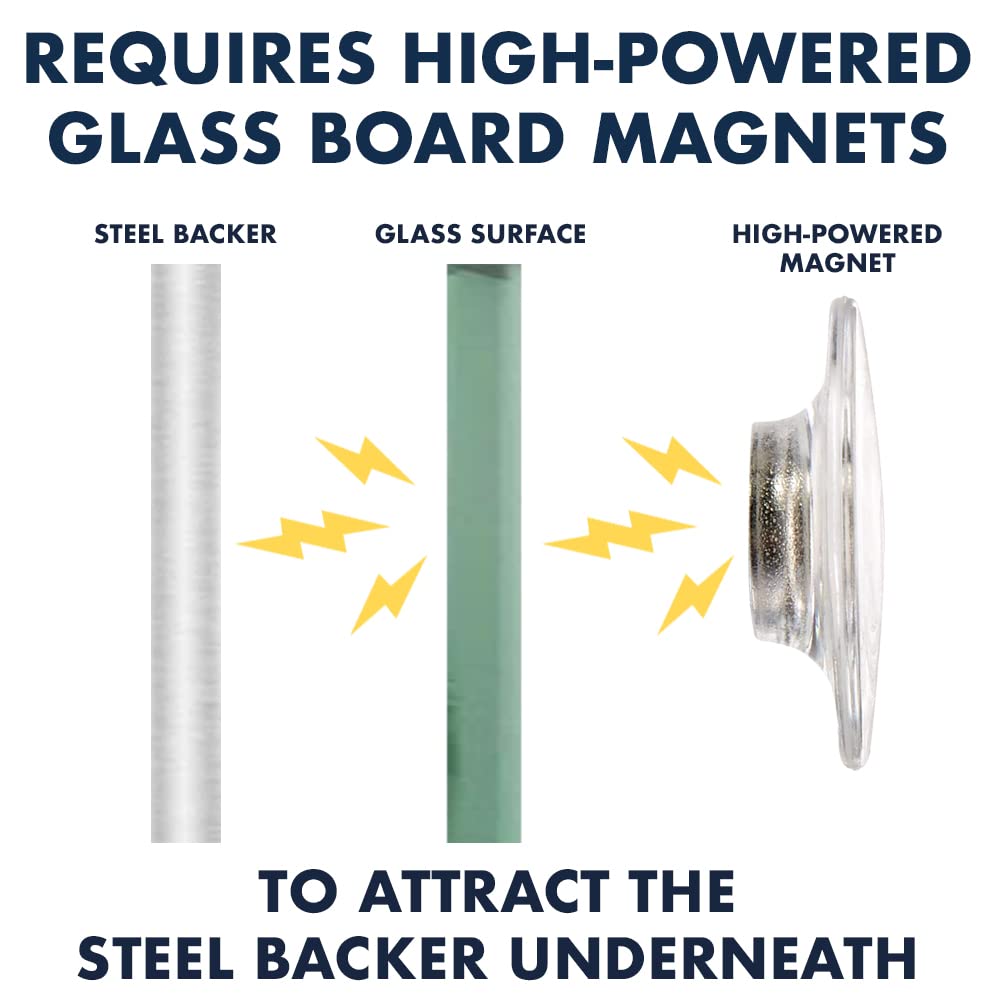
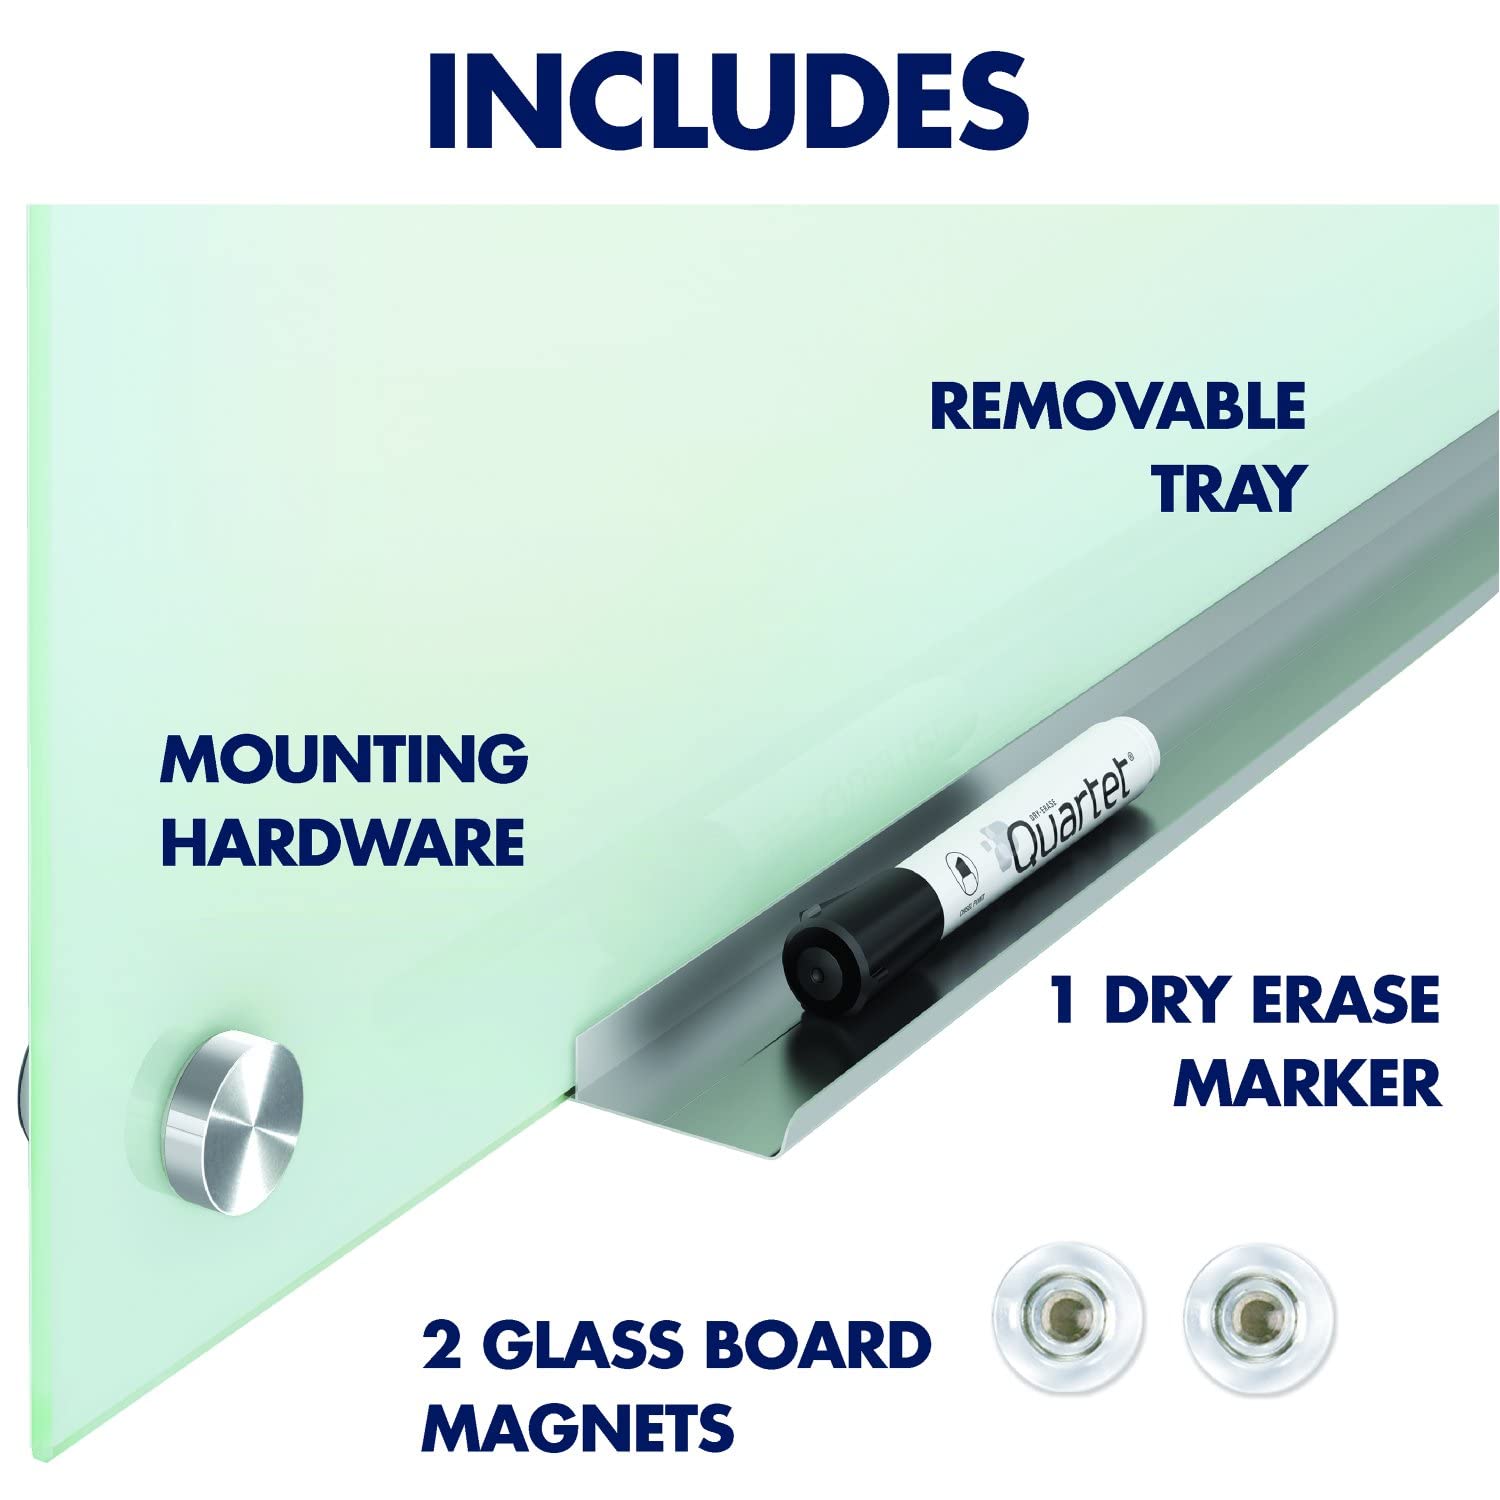
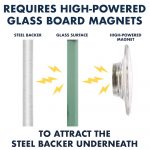
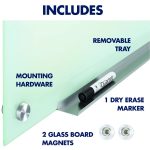
Other notes: like others said the magnetic surface on this because of the thick glass vs. thin iron sheet requires to have VERY strong magnets to have anything stick on. As you see in my first pic, There is a dry erase cubby and dry erase erase that are magnetic that are on a metal rail. These did not stick on the board. The board comes with 2 very strong magnets so you can hold up paper on the board. I guess if you want more, you will have to order from Quartet.
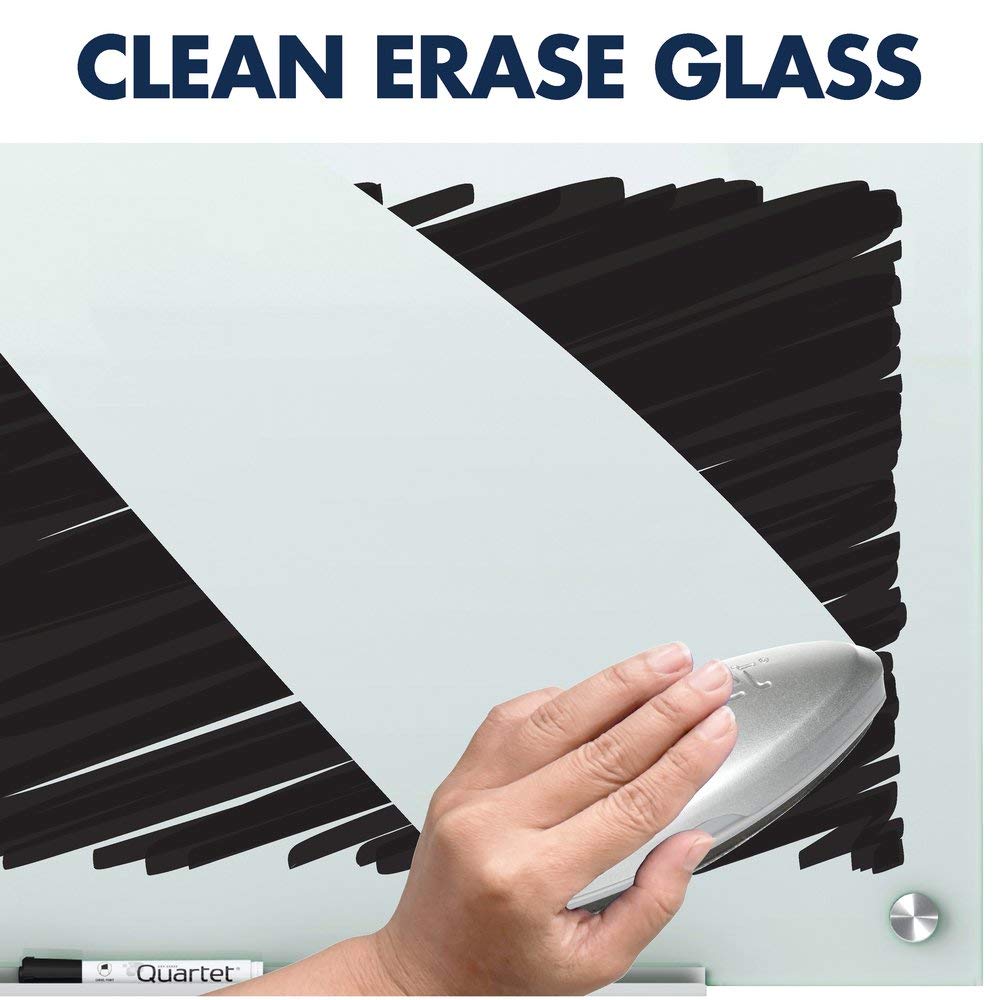
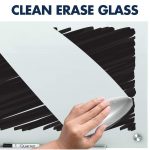
Dry erase markers: The pen that the board came with is really high quality stuff. We have other dry erase pens from "that brand that everyone associates with" and on glass it's a little wet. Note if you try to erase it while it's "wet" it will streak and be hard to wipe with a dry erase eraser. It's much easier to erase after it's dried. If you do have issues because you tried to erase it while it's wet, the good news is that because it's glass, a simple wet paper towel will wipe it right off, no ghosting!










Reviews
There are no reviews yet.